

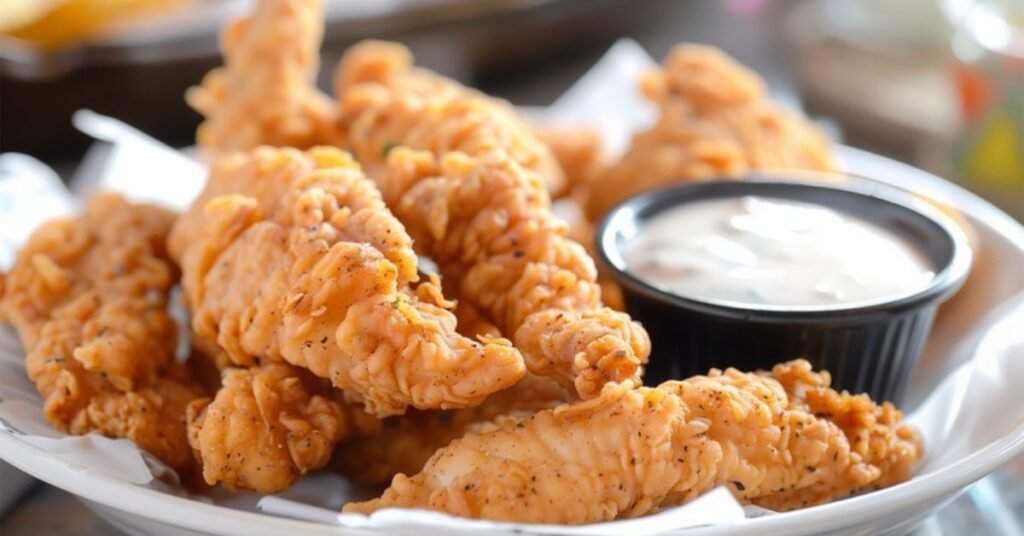
If you want the perfect chicken tender recipe, you need more than just ingredients you need the right technique. Many people struggle to achieve that golden, crispy coating while keeping the chicken juicy inside. This guide solves that problem with tested methods, expert tips, and real kitchen experience.
I will show you how to make chicken tenders that taste better than restaurant versions. Whether you prefer air fryer chicken tenders, baked options, or deep fried crispy strips, this guide covers everything step by step.
By the end of this article, you will understand the science behind crispy chicken, avoid common mistakes, and master techniques like double dredging and buttermilk marination. Let’s start cooking.
Understanding Chicken Tenders Basics
Chicken tenders look simple, but small details make a big difference. From choosing the right cut to controlling oil temperature, every step affects the final texture and taste. When you follow a structured method, you get consistent results every time.
In this section, you will learn the foundation of homemade chicken tenders. These basics will help you avoid soggy breading and dry chicken.
Build a strong foundation with these basics before exploring advanced techniques.They form the backbone of every crispy chicken tender recipe.
Let’s break it down step by step.
What Are Chicken Tenders?
Chicken tenders come from the tenderloin, a small strip located under the chicken breast. This cut stays naturally soft and cooks quickly. Many recipes also use sliced chicken breast as a substitute.
Best Chicken Cuts for Tenders
- Chicken tenderloin (best choice)
- Chicken breast strips
- Boneless thighs juicier option
Why Texture Matters
Crispy outside + juicy inside = perfect tender. You must control:
- Moisture
- Heat
- Coating thickness
Ingredients for the Best Chicken Tender Recipe
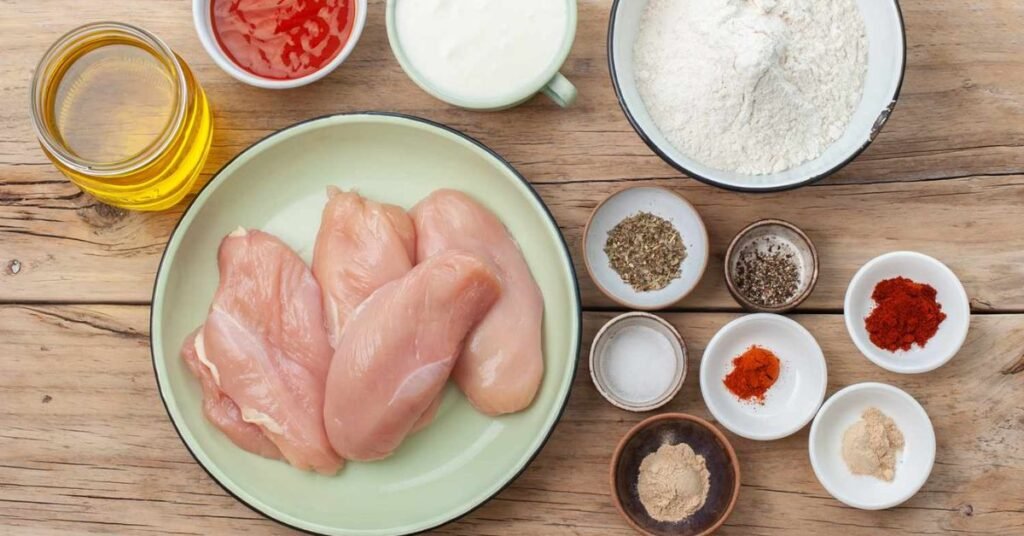
Ingredients play a major role in achieving crispy and flavorful chicken. High-quality components improve both taste and texture. Using the right combination ensures your coating sticks properly and fries evenly.
You don’t need fancy items just the correct balance of flour, seasoning, and binding agents. Each ingredient has a specific role in the recipe.
Understanding these roles helps you adjust the recipe to your preference. You can also create gluten-free or healthier versions easily.
Here’s a complete breakdown.
Essential Ingredients
| Ingredient | Purpose |
| Chicken | Main protein |
| Flour | Base coating |
| Eggs | Binding agent |
| Breadcrumbs (Panko) | Crunch |
| Buttermilk | Tenderizing |
| Spices | Flavor |
Optional Add ons
- Garlic powder
- Paprika
- Chili flakes
- Parmesan cheese
Gluten Free Options
- Almond flour
- Rice flour
- Cornstarch
Step by Step Chicken Tender Recipe
This method helps you achieve perfectly crispy chicken every time when you follow the steps with care. Paying attention to timing and the correct order of preparation ensures better texture and flavor in the final result.
Before you begin, organize your ingredients and workspace to keep the process smooth and efficient. Take your time while cooking, focus on each step, and practice regularly this consistency will help you master the technique with confidence.
Let’s go step by step.
Step 1 – Prepare the Chicken
Pat chicken dry to remove moisture. This helps the coating stick better.
Step 2 – Buttermilk Marinade
Soak chicken for at least 30 minutes. This makes it juicy and flavorful.
Step 3 – Dredging Process
Use a 3-step station:
- Flour
- Egg
- Breadcrumbs
Step 4 – Cooking Methods
- Deep fry crispiest
- Bake healthier
- Air fry balanced
The Science of Crispy Chicken
Crispy chicken is not magic it’s science. Heat triggers chemical reactions that create flavor and texture. Understanding this helps you control the outcome.
The Maillard reaction is responsible for browning. It happens when proteins and sugars react under heat.
Oil temperature also plays a key role. Too low = soggy, too high = burnt.
Let’s break it down.
Ideal Cooking Temperatures
| Process | Temperature |
| Oil frying | 175°C–190°C |
| Internal chicken temp | 74°C (165°F) |
Best Oils for Frying
| Oil | Smoke Point |
| Canola oil | High |
| Peanut oil | Very high |
| Sunflower oil | High |
Why Temperature Control Matters
- Prevents oil absorption
- Ensures even cooking
- Keeps coating crispy
The Dredge Experiment Case Study
Different coating methods produce different textures. Testing multiple techniques helps identify the best one.
This experiment compares three popular dredging styles. Each has unique characteristics.
A clear understanding of these differences helps you decide the right method.
Here’s the result.
Comparison Table
| Method | Texture | Crispiness | Verdict |
| Flour-Egg-Breadcrumb | Light | Medium | Good |
| Cornstarch Batter | Smooth | Low | Average |
| Double Dredge | Thick | Very High | Best |
Why Double Dredging Wins
Double coating creates extra layers, which means more crunch.
Professional Troubleshooting Guide
Mistakes happen, but you can fix them with the right approach. This section helps you diagnose common issues.
Instead of guessing, follow a structured checklist. This method saves time and improves results.
Professional chefs rely on this system.
Let’s troubleshoot.
Why Did My Breading Fall Off?
Checklist:
- Chicken too wet
- Oil too cold
- No resting time
How to Fix It
- Dry chicken properly
- Maintain oil temperature
- Let coated chicken rest 10 minutes
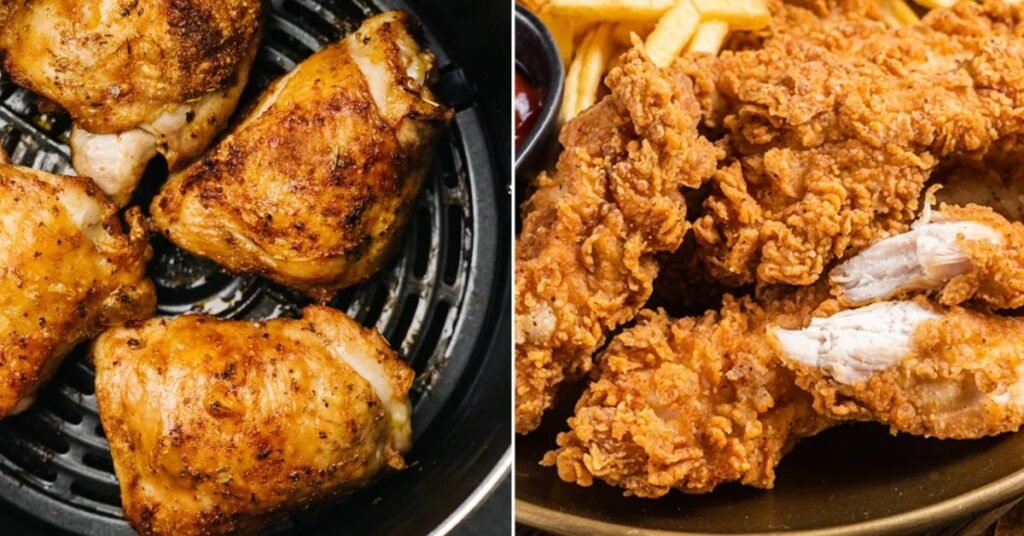
Cooking Methods Explained

Different cooking methods give different results. Choose based on your preference and equipment.
Each method has pros and cons. Some are healthier, others crispier.
You can experiment to find your favorite.
Here’s a breakdown.
Deep Frying
- Crispiest result
- Fast cooking
Baking
- Healthier option
- Less oil
Air Frying
- Balanced method
- Uses minimal oil
Best Dipping Sauces for Chicken Tenders
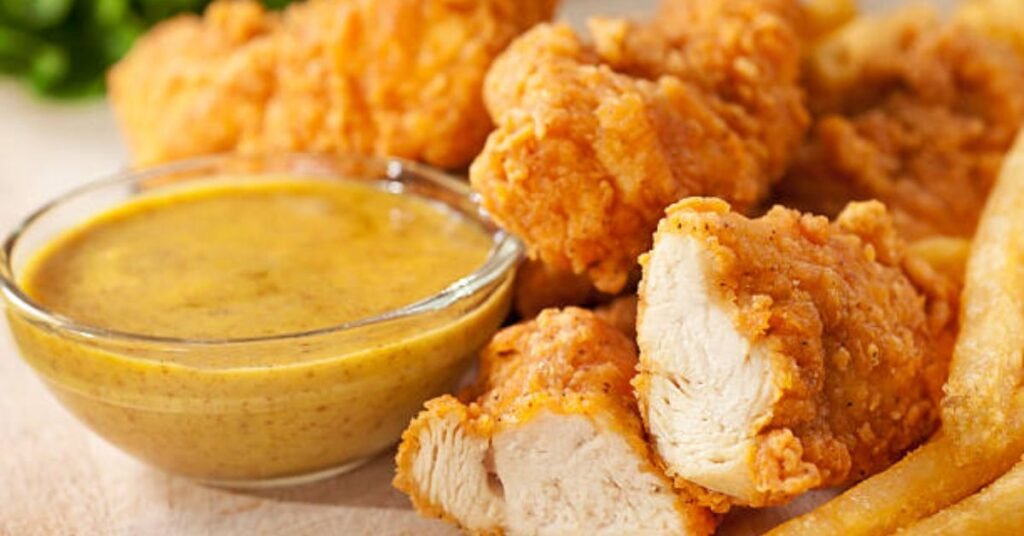
Sauces enhance flavor and complete the meal. The right dip can elevate simple chicken tenders.
You can make sauces at home easily. Fresh ingredients improve taste.
Let’s explore popular options.
Classic Sauces
- Ketchup
- BBQ sauce
- Ranch
Homemade Honey Mustard Recipe
Mix:
- Honey
- Mustard
- Mayo
Meal Prep, Storage & Reheating
Proper storage keeps chicken fresh and safe. Meal prep saves time during busy days.
Follow correct methods to maintain texture.
Reheating is just as important as cooking.
Freezing Tips
- Freeze before frying
- Use airtight bags
Reheating Methods
- Oven best
- Air fryer crispy
- Avoid microwave
Author Bio
Sana is a professional chef with over 12 years of experience in the kitchen. He specializes in comfort food and crispy fried recipes, mastering the art of perfect crunch through thousands of tests.
When he isn’t developing recipes, he teaches cooking workshops. His work appears in top food publications. He believes anyone can cook restaurant-quality meals at home with the right techniques.
FAQs
Q1: How do I keep chicken tenders crispy?
Keep oil hot and avoid overcrowding the pan.
Q2: Can I bake instead of fry?
Yes, baking is healthier but slightly less crispy.
Q3: What oil works best for frying?
Choose oils with a high smoke point, such as canola or peanut oil.
Q4: How long should I marinate chicken?
At least 30 minutes, preferably overnight.
Conclusion
This guide gives you everything you need from basic preparation to advanced techniques like double dredging and precise heat control. You now understand how each step impacts the final result, whether it’s the marinade that locks in juiciness or the coating method that creates that perfect crispy layer. By following these proven steps, you can avoid common mistakes and cook chicken tenders that turn out consistent every time.
With practice, your confidence in the kitchen will grow, and you will start experimenting with flavors, spices, and cooking methods like baking or air frying. These techniques not only improve your results but also help you create a version that matches your taste perfectly. Stick to the fundamentals, stay consistent, and you will enjoy homemade chicken tenders that rival any restaurant