

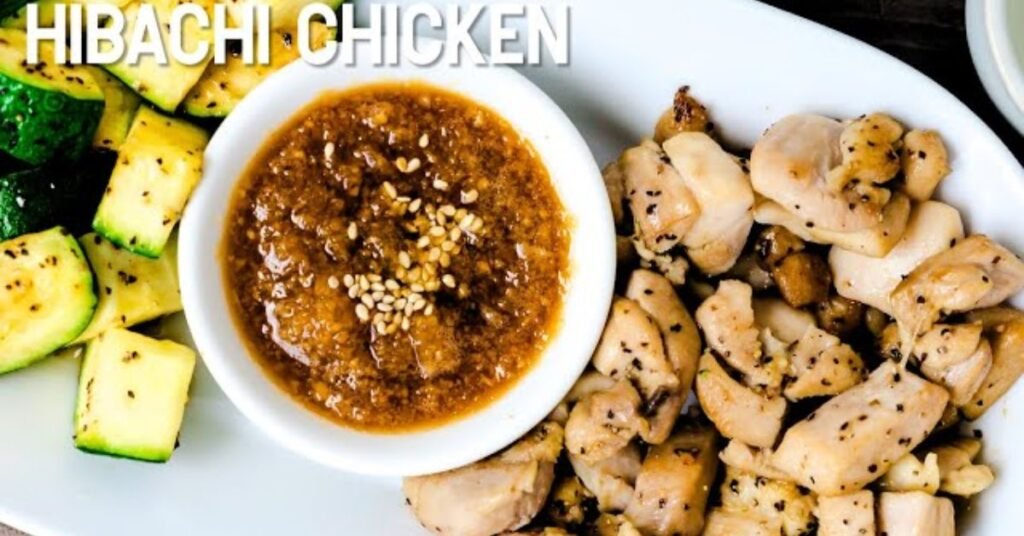
The hibachi chicken recipe is a home cook favorite, but many people miss the key steps that make it truly restaurant-quality: pan temperature, protein dryness, and garlic butter timing. Without these, even the best ingredients can turn into dry or bland chicken. This guide provides a precise method based on real teppanyaki kitchen experience to get every piece perfect.
By following this hibachi chicken recipe, your chicken will sear evenly, stay juicy, and soak up rich garlic butter flavor. Even beginners can achieve steakhouse quality results at home, without special tools or guesswork.
The Evolution of Hibachi Chicken Recipe Cooking in 2026
What Americans call hibachi is technically teppanyaki food cooked on a flat iron griddle at extreme heat. By 2026, carbon steel woks and Blackstone griddles are mainstream, tamari has replaced soy sauce in millions of kitchens, and the home cook’s expectation has shifted from basic stir fry to full steakhouse results. The dish’s core architecture hasn’t changed: high heat, fast protein, garlic butter, acid finish. What has changed is how precisely home cooks can now execute it.
Why This Hibachi Chicken Recipe Works: The Maillard Reaction
The sear you want comes from the Maillard reaction, a chemical process above 280°F that creates the caramelized brown crust producing deep, complex flavor. Three conditions must exist simultaneously:
- Dry surface: pat chicken completely dry before it touches the pan
- Preheated pan: 4 full minutes on maximum heat before oil goes in
- No crowding: half an inch between pieces or you steam instead of sear
Most home cooks violate all three at once. Cold, wet chicken in a warm pan produces grey, rubbery protein with zero flavor development. Fix the conditions, fix the chicken.
The ‘Liquid Gold’ Garlic Butter Secret: What Every Hibachi Chicken Recipe Gets Wrong
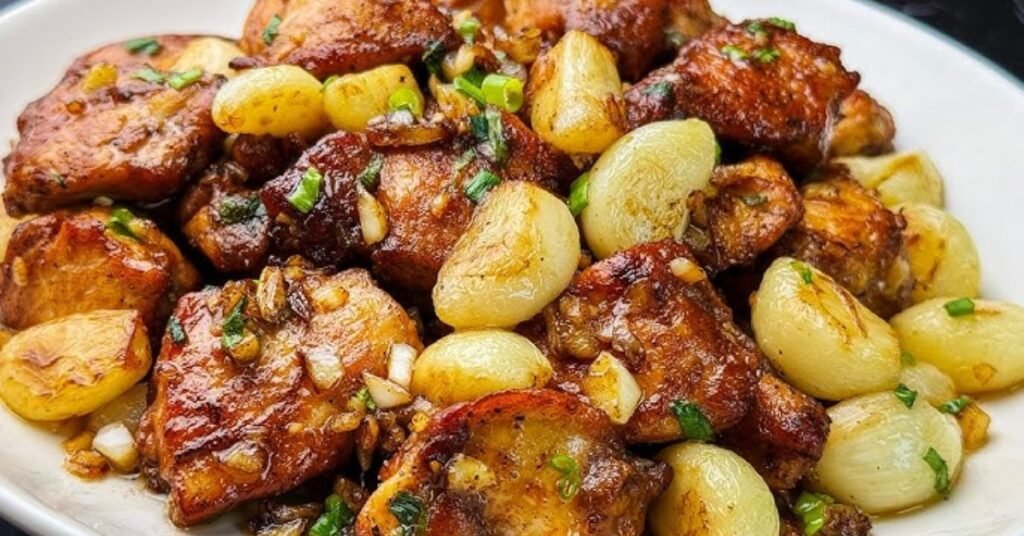
This is the single section that separates this guide from every other hibachi chicken recipe online. The steakhouse ratio is not a teaspoon of butter as a finishing touch it is a precisely sequenced, four step process that most home recipes never explain.
| Garlic Butter Blueprint | Detail |
| Butter per serving | 3 tablespoons unsalted |
| Garlic per serving | 5 cloves, minced fine |
| Garlic color target | Golden never brown |
| Timing of final tbsp | Off-heat only |
| Optional upgrade | 1 tsp white miso blended in |
Why each element matters: Butter carries garlic’s fat soluble flavor compounds deep into the protein. The gloss it creates is visual confirmation that every surface is coated. The mouthfeel it delivers is what soy sauce alone can never replicate. The miso upgrade adds fermented umami depth that closes the last gap between home and steakhouse flavor.
Exact four step application:
- Sear chicken to 80% done, push to pan edge
- Add 2 tbsp butter to pan center it foams instantly if pan is hot enough
- Add garlic to foam, stir 45 seconds until golden (golden = sweet, brown = bitter)
- Toss chicken back through butter, add final 1 tbsp off heat to preserve fresh flavor
Essential Equipment for Your Hibachi Chicken Recipe
| Cookware | Heat Ceiling | Wok Hei | Best For |
| Cast Iron Skillet | Very High | ★★★★☆ | Stovetop, indoors |
| Carbon Steel Wok | Extreme | ★★★★★ | Gas burner, pro results |
| Blackstone Griddle | High | ★★★☆☆ | Outdoor, large batches |
Wok hei indoors: Preheat dry pan 4 minutes. At the tossing stage, add 1 tbsp dry sake the brief flare on a gas burner replicates commercial wok heat and adds the faint smokiness that separates restaurant hibachi from everything made at home.
Chicken Thighs vs. Breasts for Hibachi Chicken Recipe Success
Thighs are the professional default. Intramuscular fat self bastes during high-heat cooking, texture stays forgiving up to 180°F internal, and the richer flavor pairs perfectly with garlic butter. Cut into 1.5-inch cubes.
Breasts work but demand precision; they overcook in under 60 seconds at hibachi heat. Cut into uniform 1-inch cubes, pull at exactly 160°F. A 50/50 thigh-breast blend is the best option for health conscious cooks who don’t want to sacrifice texture entirely.
The Perfect Hibachi Chicken Recipe: Complete Step by Step
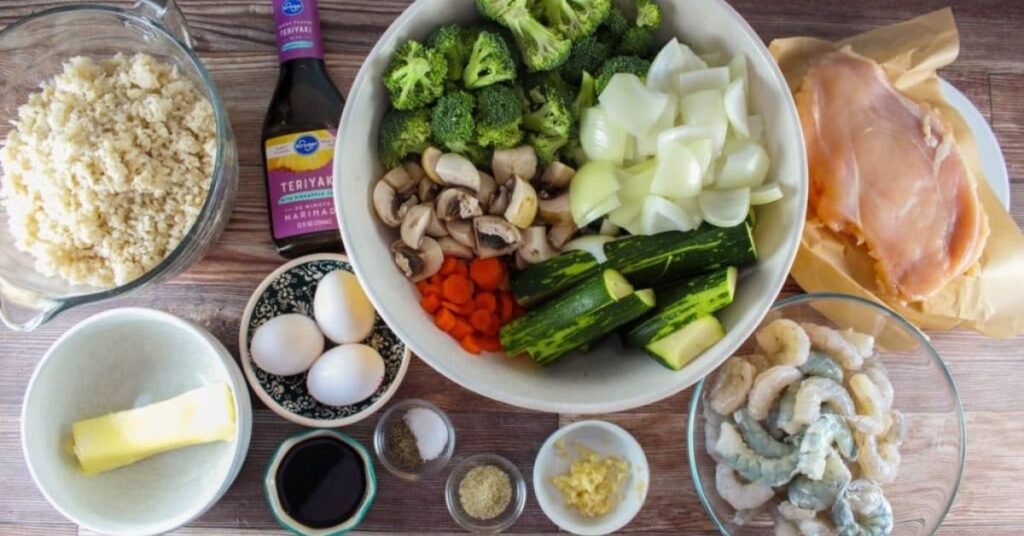
Ingredients Serves 4
- 2 tsp boneless, skinless chicken thighs, diced into bite size pieces
- 3 tsp avocado oil
- 4 tsp unsalted butter, divided (2 + 1 + 1)
- 6 cloves garlic, minced fine
- 3 tsp low sodium soy sauce or tamari
- 1 tsp toasted sesame oil (finish only)
- 1 tsp fresh lemon juice
- 1 tsp white pepper
- 1 tsp onion powder
- Salt to taste
- Sesame seeds and sliced green onions for topping
Instructions
- Pull chicken from the fridge 20 minutes before cooking. Dry each piece thoroughly using paper towels. Season with white pepper and onion powder with only no salt yet, it draws surface moisture back out.
- Heat cast iron or carbon steel on maximum for 4 full minutes. The surface is ready when a water drop vaporizes in under one second.
- Add avocado oil. It should shimmer and lightly smoke within 15 seconds. If it does not, wait longer.
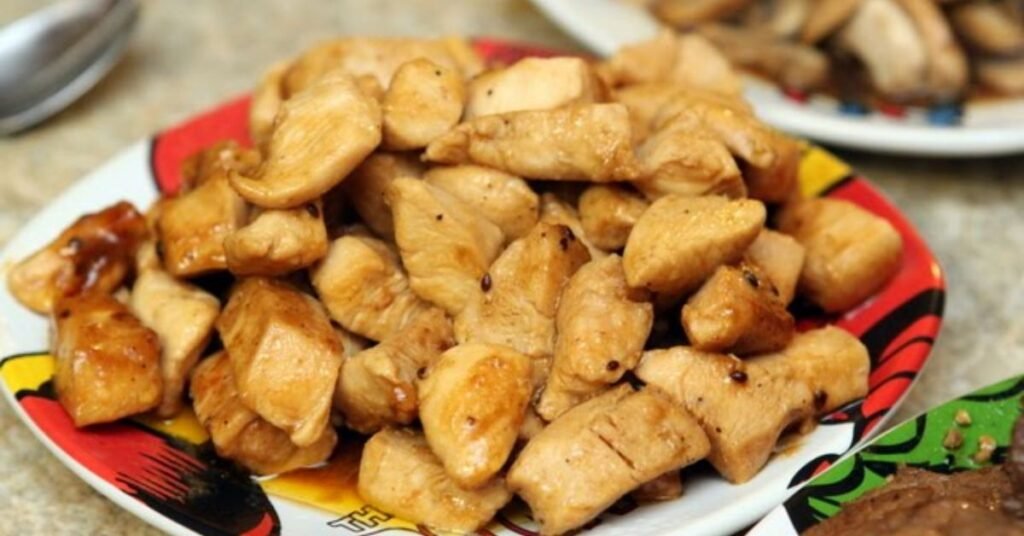
- Place chicken in a single layer with space between each piece. Do not move for 90 seconds. Flip Cook 60 to 90 seconds more until deep golden. Remove and set aside.
- Drop to medium high. Add 2 tsp butter when it foams, add garlic immediately. Stir continuously for 45 seconds until golden and fragrant.
- Return chicken. Pour soy sauce around the pan perimeter, not directly onto the chicken. The hot surface caramelizes it on contact for maximum flavor.
- Toss 90 seconds. Add 1 tbsp butter and sesame oil off heat. Finish with lemon juice. Taste for salt. Plate immediately.
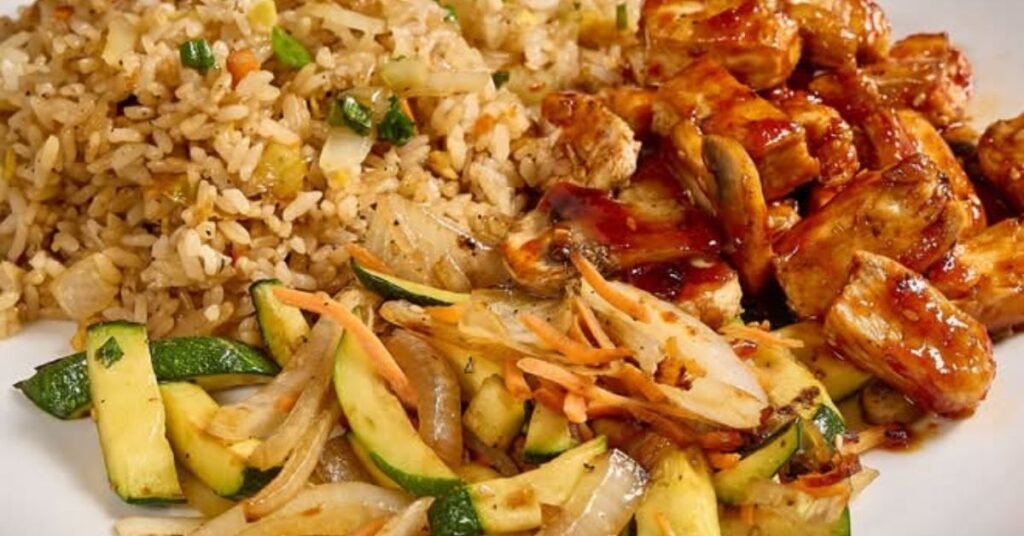
Vegetable Timing Always Cook Separately
- Onions: 3 minutes high heat, char edges are correct
- Zucchini: 2 minutes per side, face down first
- Mushrooms: 2 minutes dry pan, then 1 minute with butter
- Bean sprouts: 90 seconds maximum or they lose all texture
Solving Mushy Rice in Your Hibachi Chicken Recipe: The 24-Hour Rule
Fresh rice turns to paste in a hot pan surface moisture plus gelatinized starch equals glue. The professional fix: cook rice, spread thin on a sheet pan, refrigerate uncovered for 24 hours. Starch retrogrades overnight, grains become firm and dry, and they fry instead of steam.
Emergency method: 2 hours uncovered in the fridge. Functional but not ideal.
The egg coat: Add beaten eggs to a hot oiled pan, let set 70%, then add cold rice on top. Fold through every grain gets an egg film that creates the golden color and richness of steakhouse fried rice. This is the step most home recipes skip entirely.
2026 Health Variations of the Hibachi Chicken Recipe
- Keto: Replace fried rice with cauliflower rice, same technique. Chicken prep is unchanged; the dish is naturally low carb.
- Low Sodium: Use certified low sodium soy sauce (40–50% less sodium). Add 1 tsp white miso to the garlic butter to recover the umami depth lost by cutting the soy.
- Gluten Free: Certified tamari replaces soy sauce directly. Tamari is slightly richer and less acidic; it genuinely improves the sauce rather than just substituting it. Verify your sesame oil label as well.
Hibachi Chicken Recipe Troubleshooting
- Kitchen filling with smoke: range hood on maximum before you start, use refined avocado oil, wipe pan clean of old residue before heating
- Rubbery chicken: pan was under temperature or chicken overcooked; use a thermometer, pull thighs at 163°F and let carry over finish the job
- No crust forming: chicken was not dry enough, or pan was not hot enough; both conditions must be true simultaneously
- Sticky fried rice: rice was cooked same day; no in pan fix exists, refrigerate overnight next time
- Garlic burning: added before butter fully foamed or heat too high; garlic always follows the foam, never precedes it
Mastering the Hibachi Chicken Recipe: Chef’s Final Word
Seventy percent of the outcome is decided before the chicken touches the pan. Dry protein, preheated surface, cold rice, correct butter sequence these are not optional refinements, they are the recipe. The remaining thirty percent is restraint: do not move the protein during searing, do not rush the garlic, finish with lemon. Every element here earns its place.
Chef’s Final Tip: Before your first full batch, sear one test piece alone and build the garlic butter around it. Three minutes total. You will immediately learn your stove’s actual heat output, your pan’s hot spots, and your butter’s timing. That single test piece teaches you more than reading this guide twice. Then cook the full batch with full confidence.
Your Hibachi Chicken Recipe Starts Here
Cooking a great hibachi chicken recipe at home is easier than ever. With the right pan, the proper garlic butter ratio, and a hot cooking surface, you can recreate the steakhouse experience in your own kitchen. Dry the chicken well and heat the pan properly so the meat develops a good sear.
Follow the garlic butter method and respect the 24-hour rice rule. These simple steps help avoid common mistakes and improve flavor. Once you smell the garlic butter and taste the balanced flavors, you will see why hibachi chicken is one of America’s most popular restaurant dishes.
FAQs
Q1:What oil do hibachi chefs use?
Vegetable or avocado oil for the sear neutral flavor, 400 to 500°F smoke point. Toasted sesame oil is added at the finish only. It burns bitter at high heat, so it functions purely as a flavor finisher, never a cooking fat.
Q2:Is hibachi chicken healthy?
Per serving: approximately 380 calories, 30g protein, 16g fat, 10g carbs. Significantly leaner than fried preparations. Primary concern is sodium switching to low sodium tamari brings a single serving under 600mg without changing the flavor profile.
Q3:Why is my hibachi chicken dry?
Pieces cut too small, heat too low, or internal temp pushed past 175°F. Cut thighs into 1.5-inch pieces, use maximum heat, and pull at 163°F. Dry hibachi chicken is always a temperature management problem, never a recipe problem.
Q4:Can I make hibachi chicken without a wok or cast iron?
Yes, heavy stainless steel works. Avoid non stick entirely; it degrades above 400°F and never gets hot enough for a proper crust.
Q5:How do I store and reheat leftover hibachi chicken?
Refrigerate for up to 3 days. Reheat in a hot pan with butter, never microwave. Two minutes in cast iron restores 80% of the original sear. Finish with a fresh lemon squeeze.